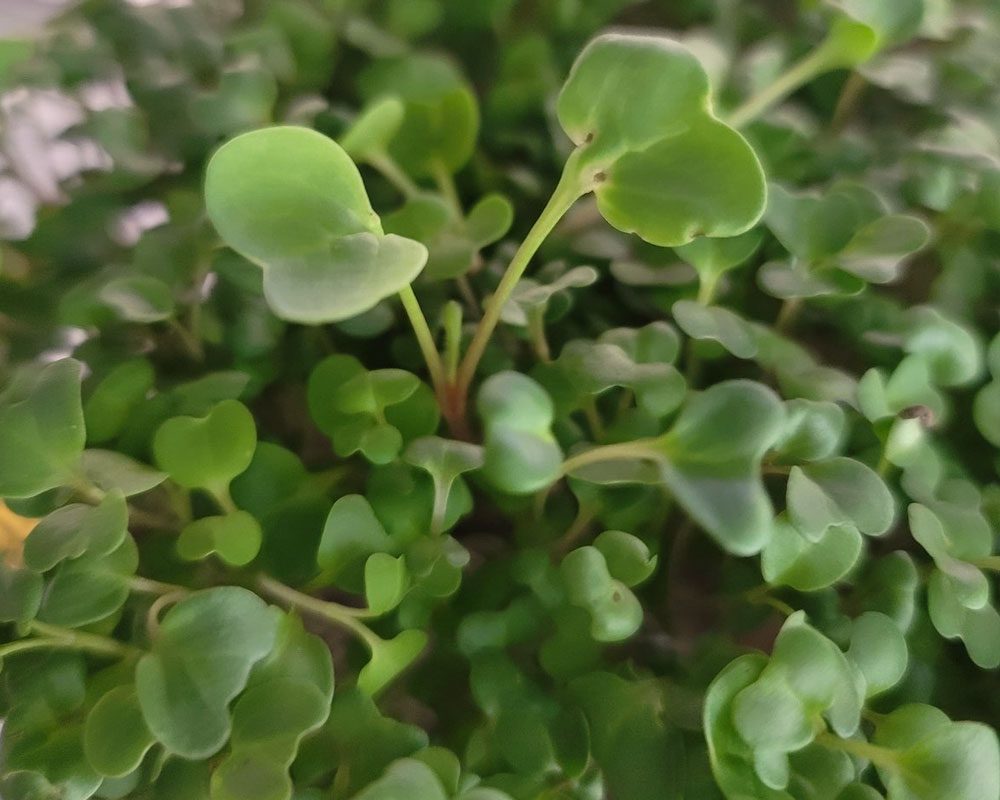
Growing microgreens is a relatively simple process that can be done indoors year-round. Here are the basic steps to grow microgreens:
- Choose your seeds: You can grow a variety of microgreens, including arugula, basil, chives, cilantro, kale, and many others. Make sure to choose high-quality, organic seeds for the best results.
- Prepare your growing container: Microgreens can be grown in any shallow container with drainage holes. You can use plastic trays, paper cups, or even recycled containers. Make sure to clean the container before use.
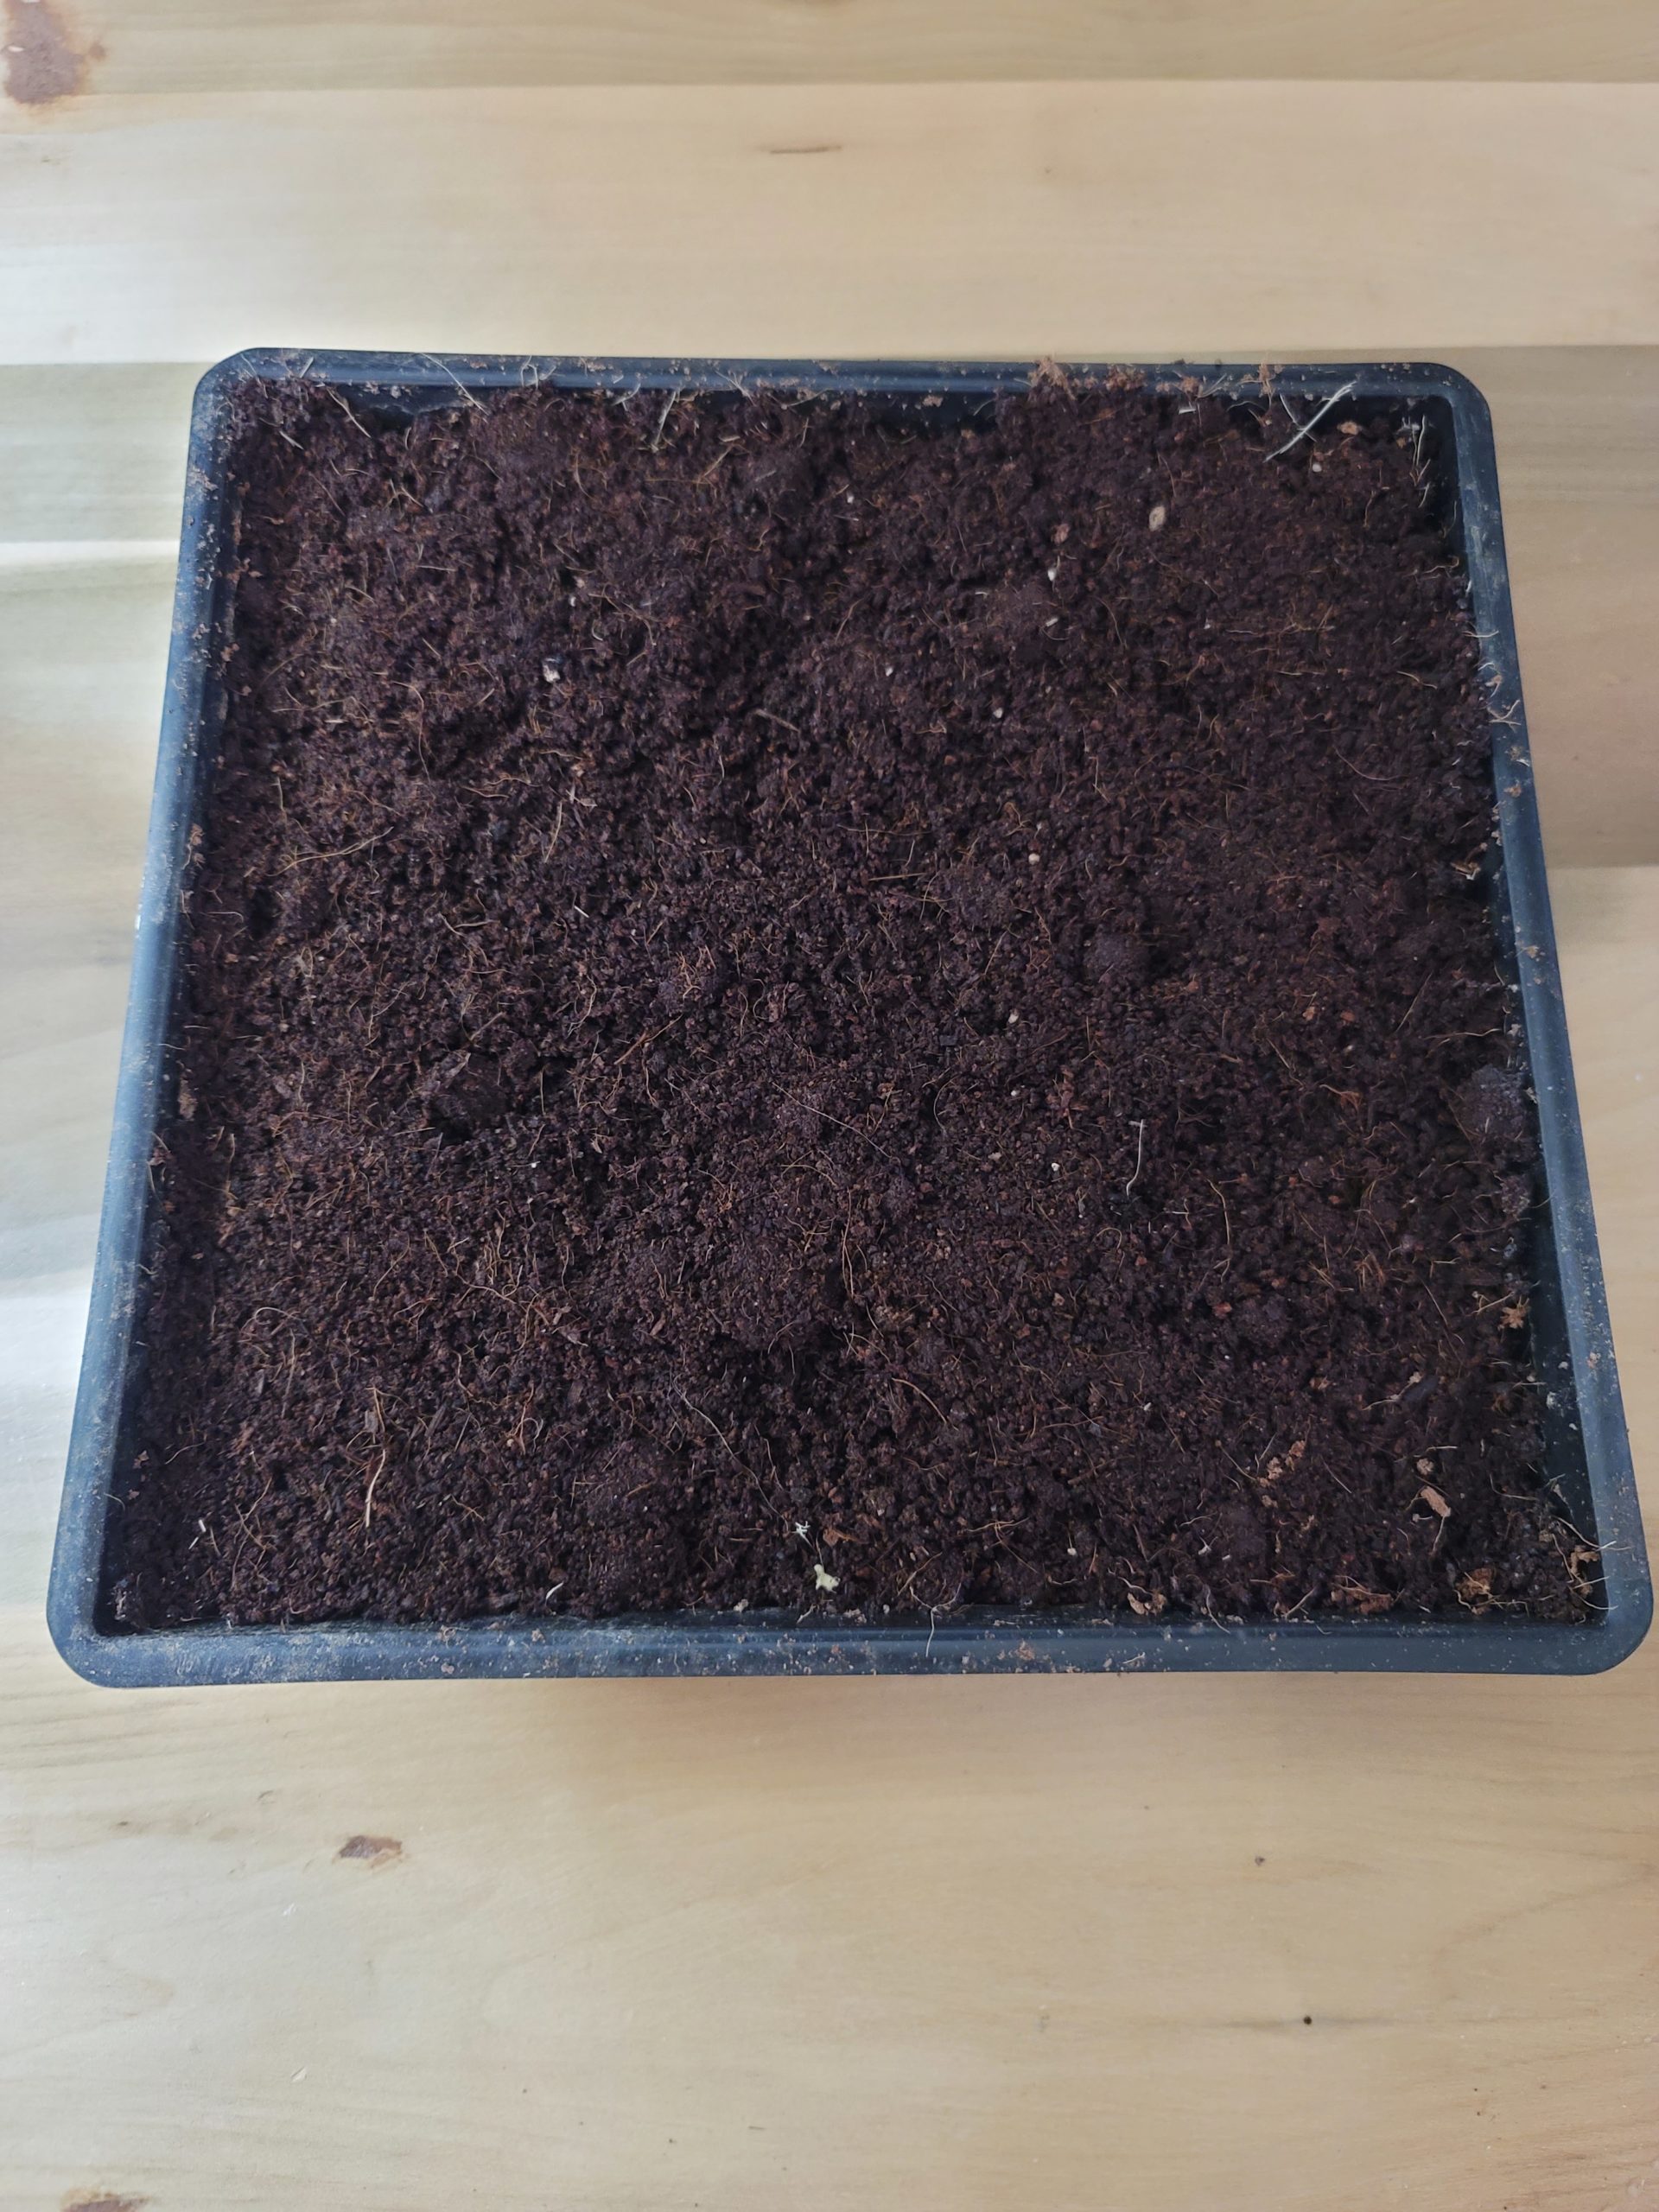
- Add growing medium: Fill the container with a growing medium, such as potting soil, coconut coir, or a soilless mix. The medium should be about 1-2 inches deep.
- Sow the seeds: Sprinkle the seeds evenly over the growing medium, making sure not to overcrowd them. Cover the seeds with a thin layer of growing medium.
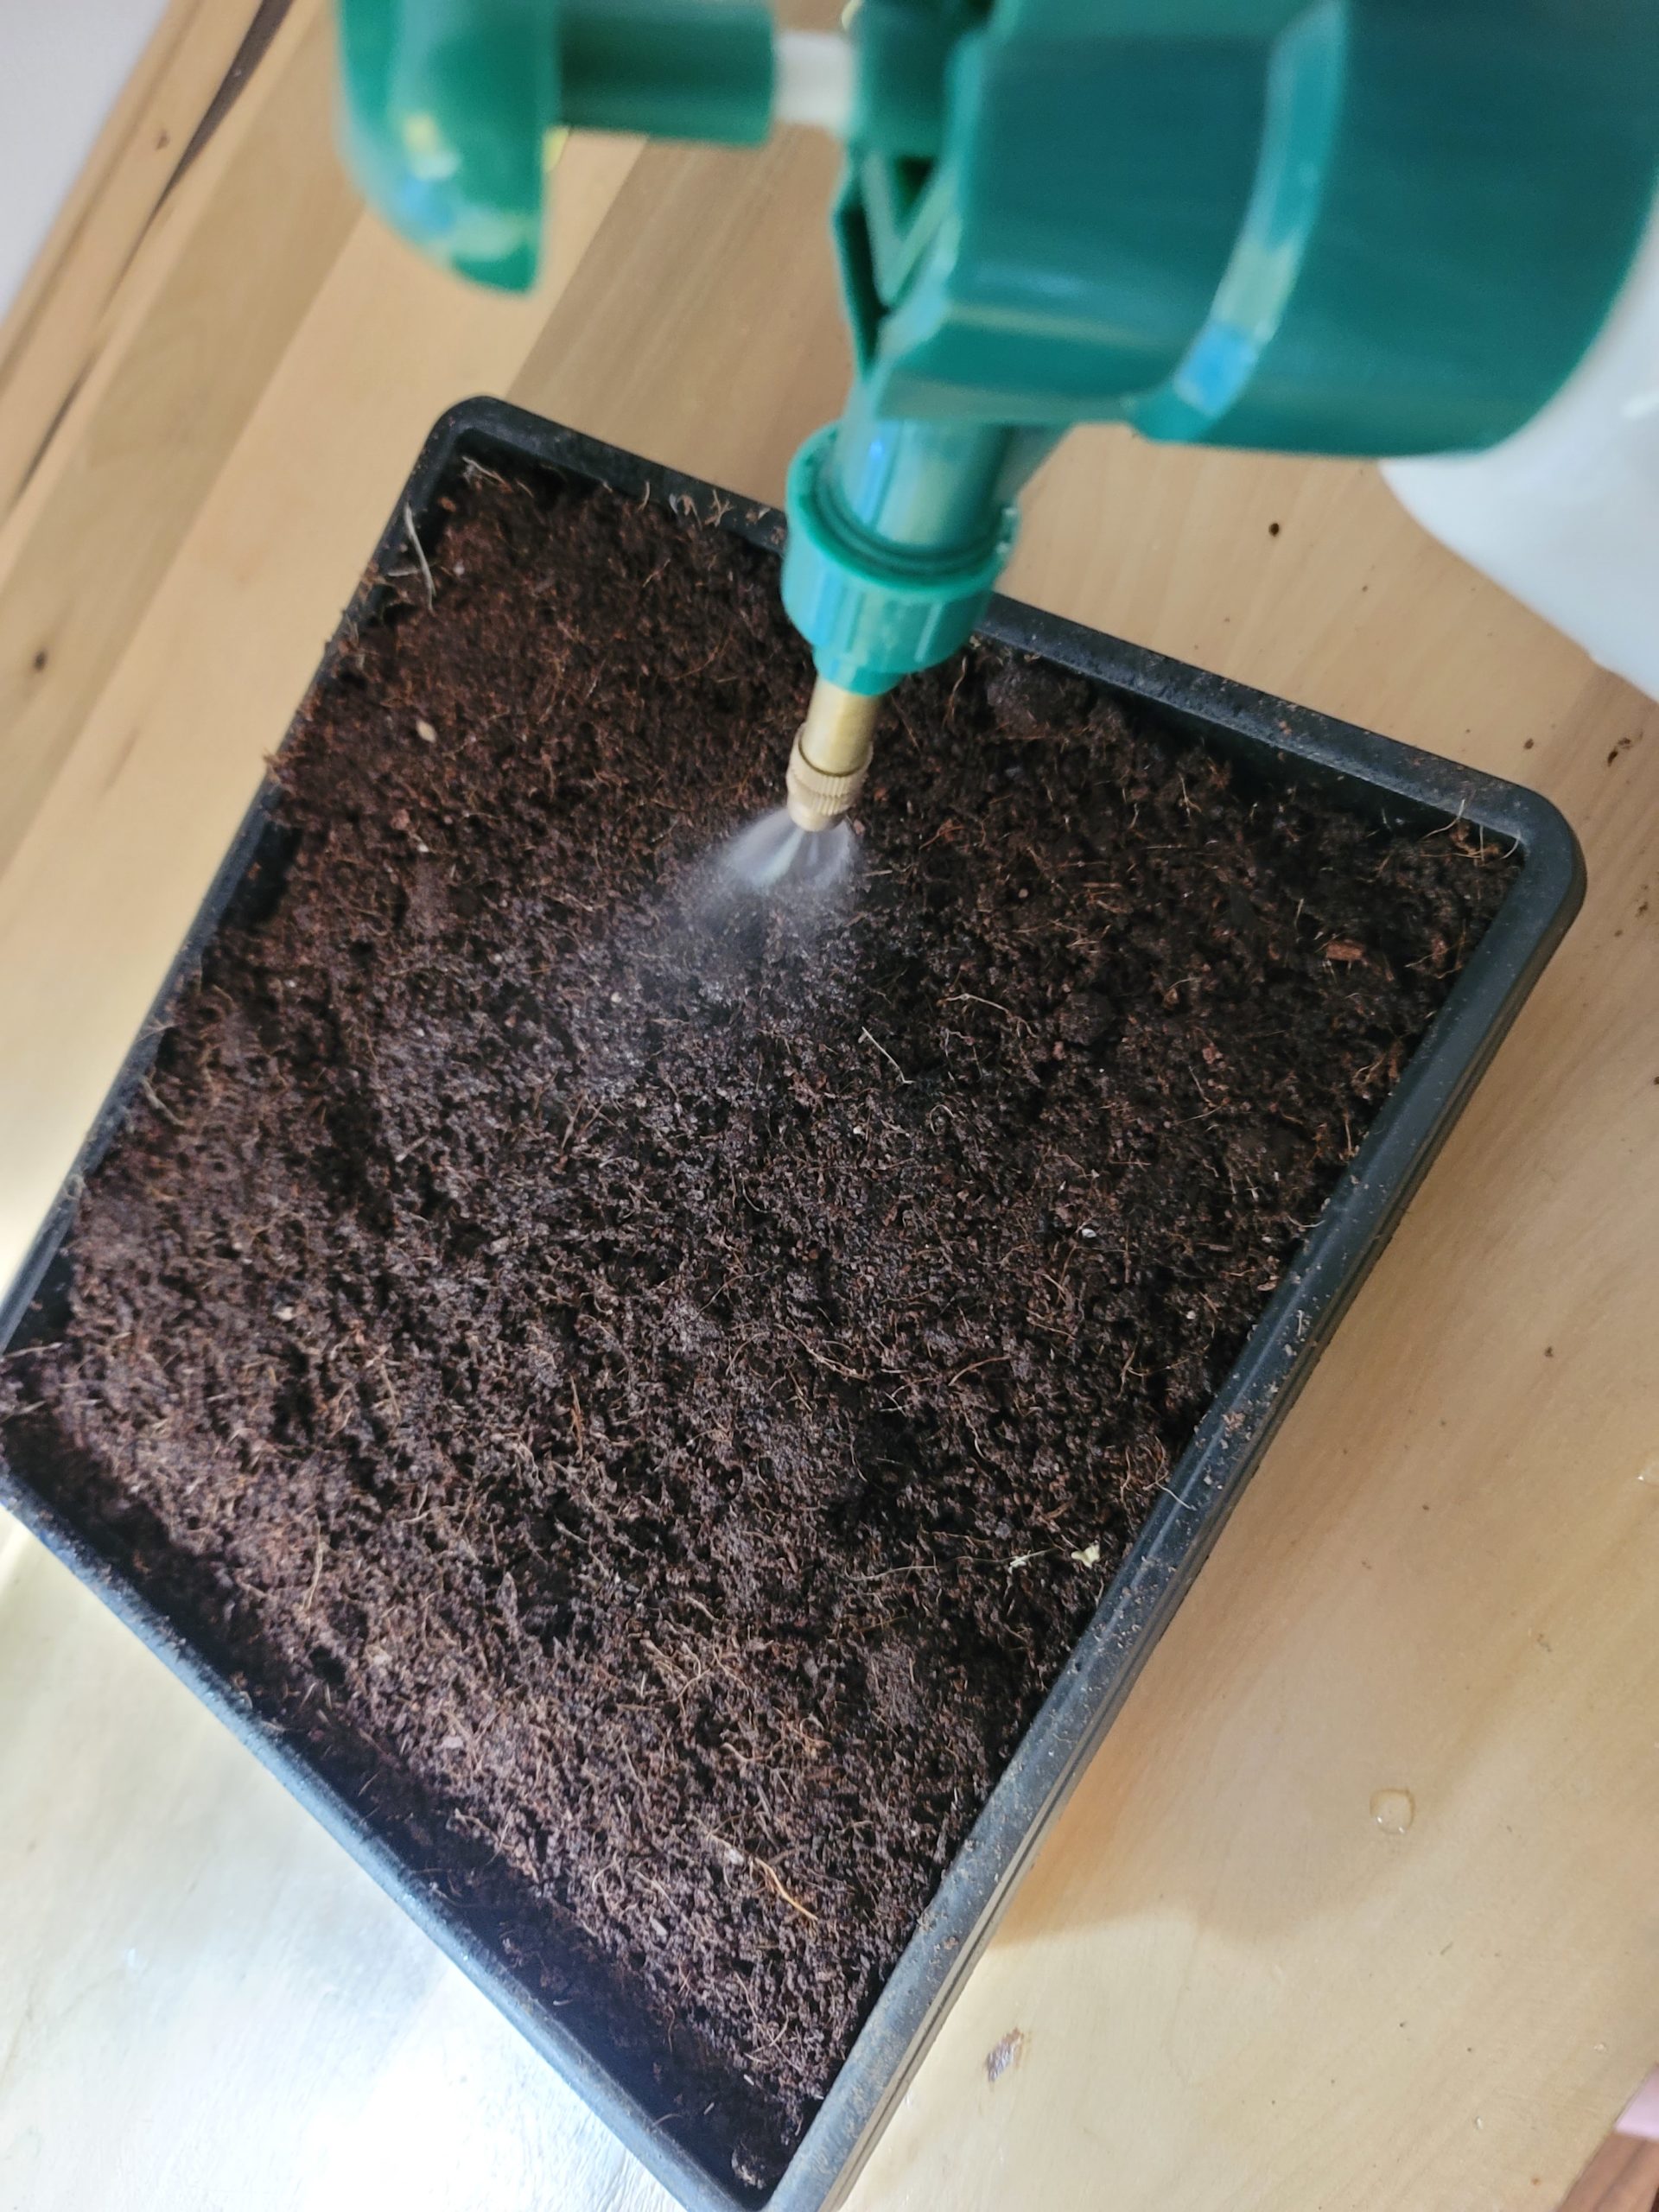
- Water the seeds: Water the seeds gently but thoroughly, making sure not to displace the seeds or the growing medium. You can use a spray bottle or a watering can.
- Cover the container: Cover the container with a lid, plastic wrap, or a dome to create a humid environment for the seeds to germinate.
- Place the container in a bright location: Microgreens need plenty of light to grow. Place the container in a bright location, such as a windowsill or under grow lights.
- Water the microgreens regularly: Check the soil moisture level daily and water the microgreens as needed. Be careful not to overwater, as this can lead to mold or fungal growth.
- Harvest the microgreens: Microgreens are ready to harvest in 1-3 weeks, depending on the variety. Use scissors to cut the stems just above the soil level.
- Enjoy your microgreens: Use the microgreens immediately or store them in the refrigerator for up to a week. Microgreens are a great addition to salads, sandwiches, and many other dishes.
Shopping List – One-Time Purchase
- Trays
- Large Mixing Bowl
- Lights – I recommend one set per tray you want to have actively growing. If you plan to grow more than 3 trays at a time, then I’d recommend a shelf system and a larger lighting system.
- Mister
- Gallon Jug
- Produce Knife
- Measuring Beakers
Consumables
- Coco Coir – This will last about 4 Trays
- Fertilizer – This will last about 120 Trays
Microgreen Seeds – Each 1-pound bag will last about 30 Trays
Other Recommendations
Composter for spent coco and sprouting medium
Day 1
Preparing the Soil


Leave A Comment